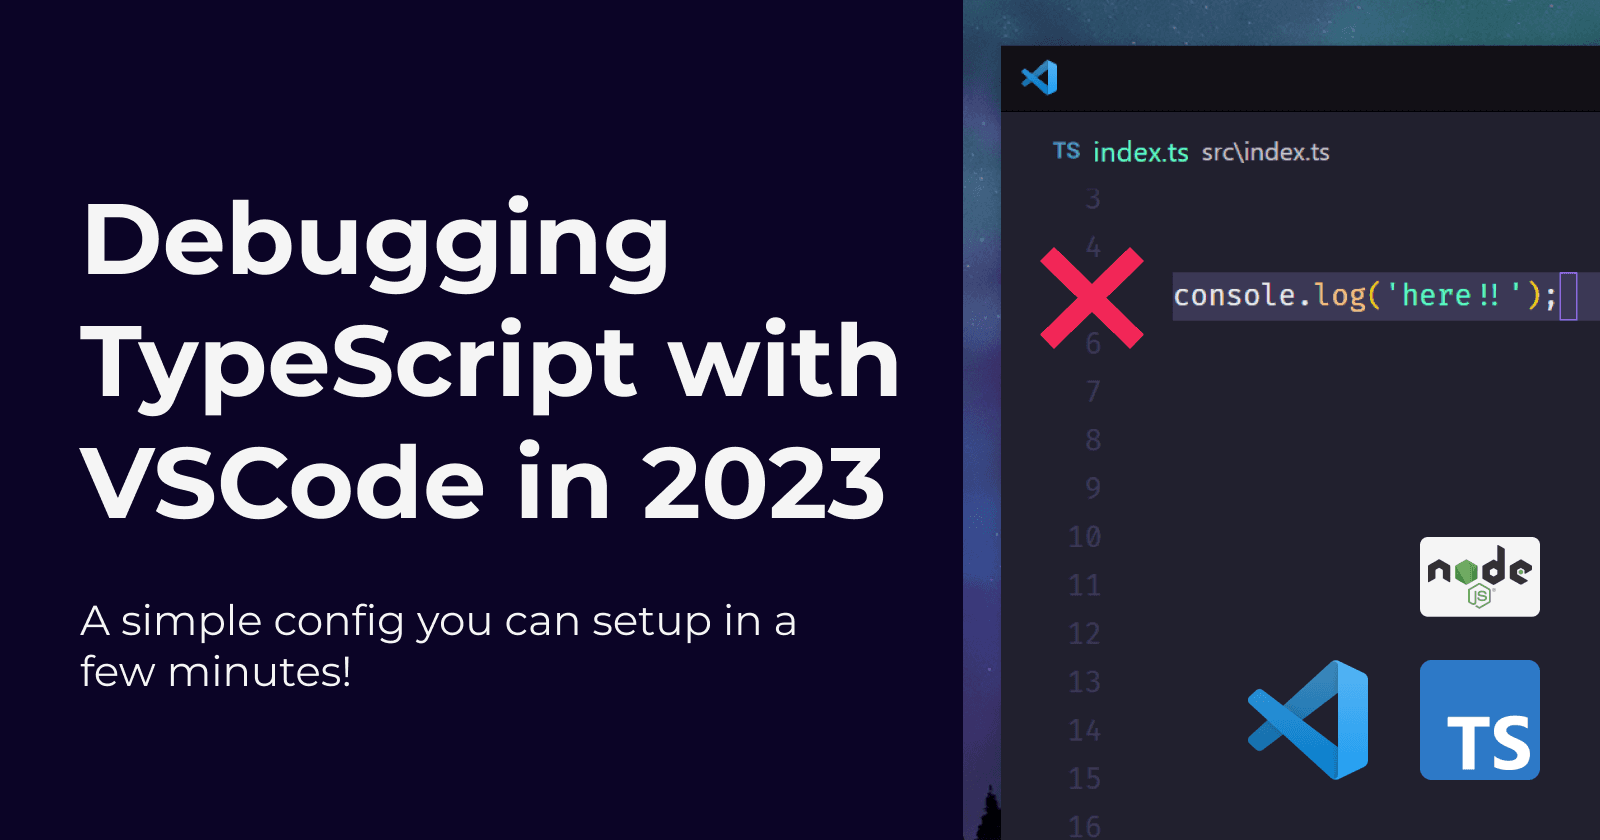
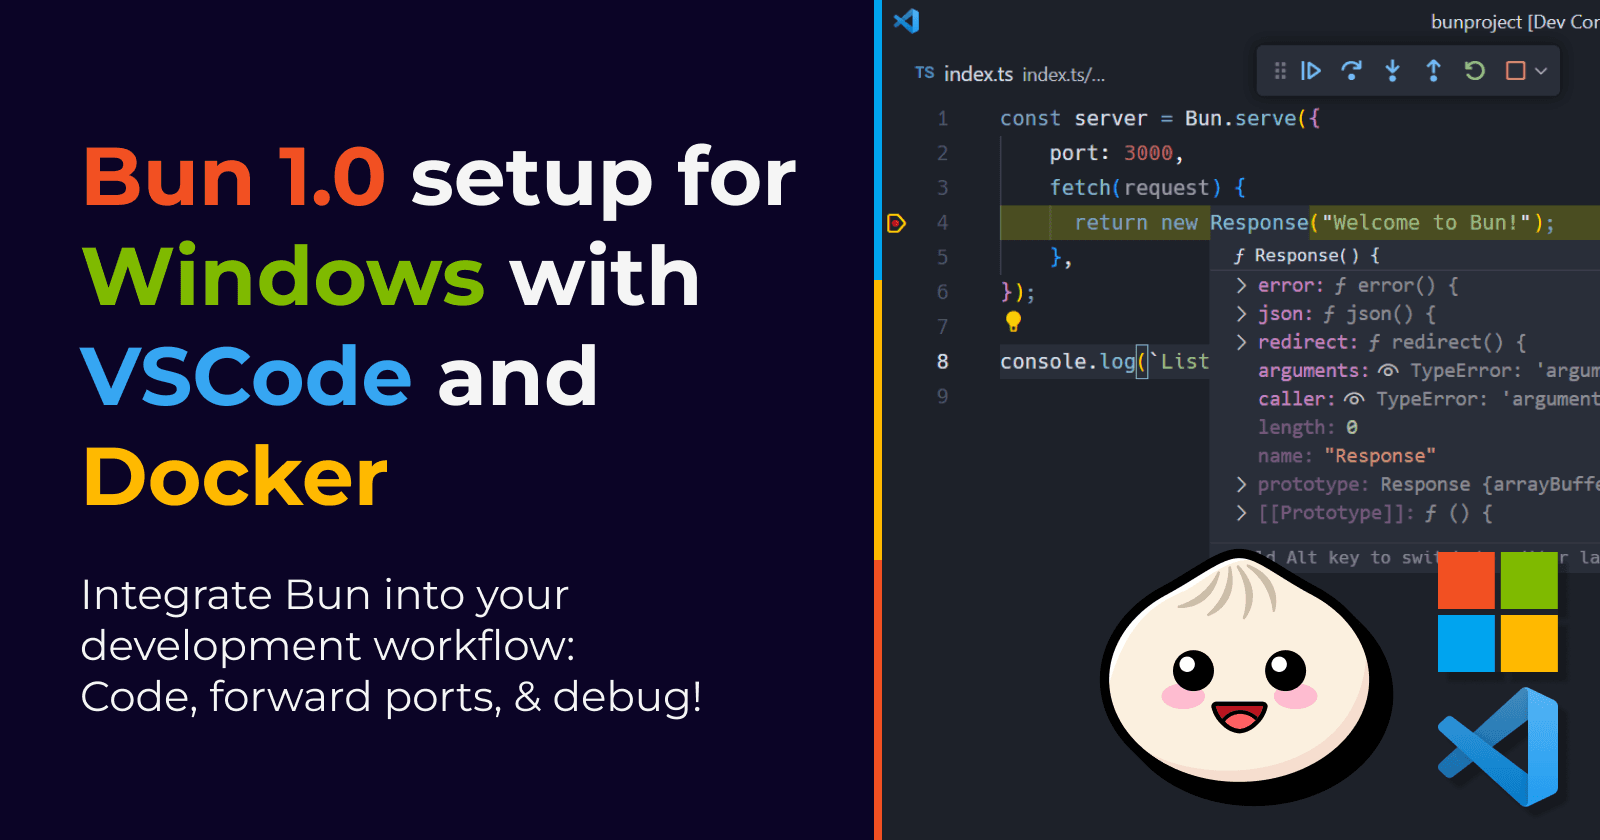
Bun 1.0 setup for Windows with VSCode and Docker
Integrate Bun into your development workflow: Code, forward ports, & debug!
Passionate about creating stuff. Gamer, digital artist, and guitarist on my free time.
I’ve been meaning to try Bun for a while now, and after the release of v1.0 I decided to make time for it. But when I finally sat down and started reading the docs, I realized it doesn’t run on Windows just yet.
However, I saw the documentation to run it with Docker, and I thought it could be a cool alternative. After a few hours of research and experimentation, here we are!
By following this guide, you will be able to seamlessly integrate Bun into your development workflow on a Windows machine using VSCode. We will see how to:
Develop a project with Bun using the same VSCode setup you use every day.
Forward ports so you can test your Websites and APIs in your local browser.
And even Debug with proper breakpoints and everything!
What you'll need
Before we get started, make sure you have the following tools installed:
Docker
VSCode
Dev Containers VSCode extension

How it works
Through the Dev Containers extension, we’re going to use a container as a development environment.
The Docker image we will use for our container is based on the official Docker image oven/bun:latest. This means that once our container is up and running, we will have immediate access to Bun.
The files in our project will be automatically mounted from the local file system. Therefore, while the project will run in the container, the source code will remain updated on our local machine.

Image borrowed from code.visualstudio.com
Setting up the Dev Container
Let’s create a directory and open it with VSCode:
> mkdir bunproject
> code bunproject
Create a new Dockerfile in the project directory with the following content:
# Use the latest version of the bun image as the base image
FROM oven/bun:latest

# Set `DEVCONTAINER` environment variable to help with orientation
ENV DEVCONTAINER=true
Now let’s run our Dev Container:
Open the command palette in VSCode by pressing
Ctrl + Shift + Pand run the command "Dev Containers: Open folder in container".
Then, choose the option to create the container using our Dockerfile.

When prompted with the "Select Features" option, just press OK without selecting any additional features.

VSCode will reload and open your project in a dev container. You should also see a new directory in your project called .devcontainer. Within it, there should be a devcontainer.json file including our dev container settings.

If you’ve reached this point, you are already running a project within the container as a dev environment. But it’s empty! So let's keep going.
Setting up the project with Bun
Since our container was created using Bun's official Docker image, Bun is already installed and ready to use.

Follow these steps to set up your project:
Open VSCode’s integrated terminal and initialize a Bun project by running the following command:
> bun initInstall any necessary dependencies using bun’s package manager:
> bun install chalkUpdate the
index.tsfile in VSCode with your desired code. For example:import chalk from 'chalk'; console.log(`Hello via ${chalk.yellow.bold('Bun')}!`);Run the project with Bun using the command:
> bun --hot index.ts
The
--hotflag enables hot reload, allowing you to see changes in real-time while developing.
✅ Done! You are now developing with Bun in Windows.
But there are a couple more cool things we can do with these tools. Let's take a look.
Forwarding ports
If you're building an HTTP server and want to test your API from your browser, you can forward ports from the container to your local environment. Here's how:
Write a simple server in the
index.tsfile, specifying the desired port:const server = Bun.serve({ port: 3000, fetch(request) { return new Response("Welcome to Bun!"); }, }); console.log(`Listening on localhost:${server.port}`);Open the
.vscode/devcontainer.jsonfile and add the following code:{ // Other props ... "forwardPorts": [ 3000 ] }Rebuild the dev container by opening the command palette and running the "Dev Containers: Rebuild Container" command.
Once the dev container is running again, you should see your forwarded port in the “Ports” view at the bottom:

Start the server using Bun:
> bun --hot index.tsOpen your browser and navigate to http://localhost:3000 to test your API.
Debugging
With this setup you can even debug bun, with breakpoints and everything!
Follow these steps to set it up:
Install the official extension “Bun for Visual Studio Code”.

Now open the command palette and search for the option “Debug: Add Configuration".

When prompted to select a Debugger, choose “Bun” (you should see this option after installing the extension in step 1).

You should now see a new directory and file
.vscode/launch.json.
Open the Debug view, and make sure the current configuration is “Debug file”.

Finally, try setting a few breakpoints and press
F5to start debugging!
Conclusion
I've been trying this setup for a week, and it feels great. You can even use Docker Compose to combine it with other services or databases! The only slightly annoying thing is having to run Docker for small apps and wait for the container to start. But overall, I think this is a fantastic option for people who want to try Bun on Windows right away.
It's also worth noting that you can use these tools to run other technologies with Dev Containers. In fact, the examples I used as inspiration for this post were for a Node.js dev container.
That’s it for now! Happy coding :)

Get my book: typescriptgamified.com